

5 Of The Best Camera Tips And Tricks For Your Google Pixel Camera
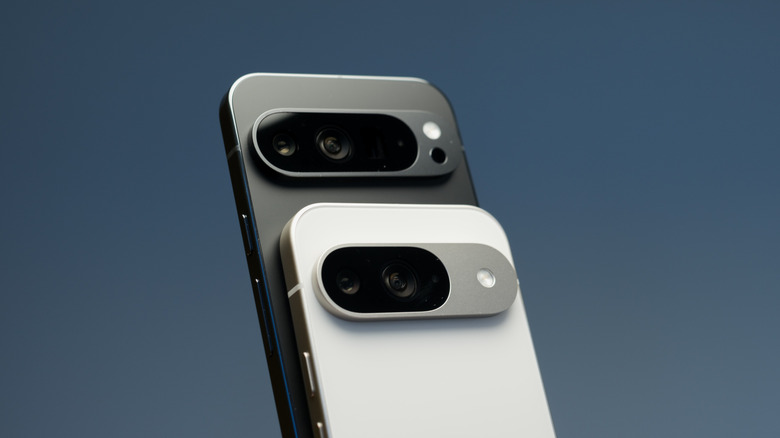
For the longest time, Google equipped Pixel phones with the same 12-megapixel sensor for their main cameras. Users were consistently impressed, though, because even through middling hardware, the company has always aced it in the processing department. Pictures and video were rendered with fuller colors, finer definition, and plenty of neat experiences to expand your shooting repertoire, like Astrophotography. But even Google can't escape the resolution race if it's meant to keep up on the data-hungry AI front, so we've seen the Pixel 10 series run with 50-ish-megapixel cameras just like the ones on Apple and Samsung devices.
Better hardware does make marquee features like Add Me and Magic Eraser more useful and, thus, more fun. That said, you could be missing out on a few tips and tricks that aren't as exciting to talk about, but can truly improve your everyday Pixel camera experience. We'll go over five of them here with the open caveat that the availability of these features varies between models, and locations may change with updates to the Pixel Camera app. You'll find many of the settings we're talking about by opening the app, hitting the cog icon in the bottom-left corner, then selecting the three-dot button at the top-right corner of the pop-up menu.
Spot Frequent Faces to make Top Shot more reliable
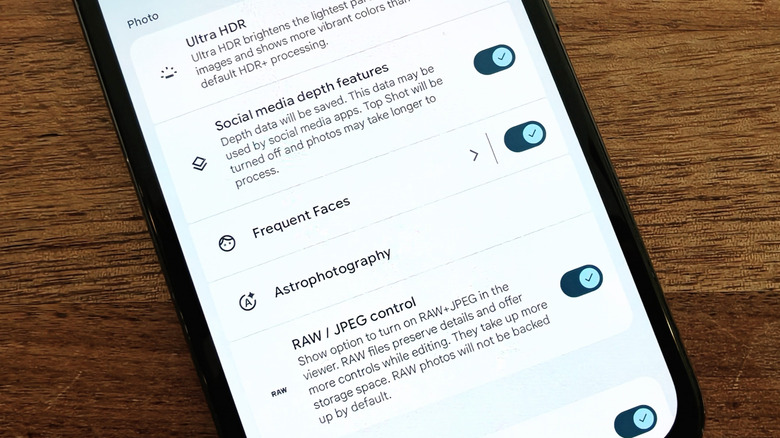
Longtime owners will likely be familiar with the quietly brilliant, but somewhat hidden Pixel camera feature called Top Shot, which makes use of a low-resolution frame buffer that the camera app runs. This option can be found in the "Photo settings" menu that appears after tapping the cog icon in the bottom-left corner of the Camera app's viewfinder.
When you press the shutter button with Top Shot activated, the app will snap an image at full resolution while also keeping a range of those low-res frames from before and after the shutter press. Top Shot then comes in and highlights a few of those frames as kind of alternate thumbnails of the moment. You select one of them and it becomes "the photo," so to speak. Ever have someone back into you and knock you off balance while you're shooting? Top Shot helps with that.
The feature can be toggled on, off, or placed in Auto mode where your Pixel's on-board AI chooses when Top Shot activates — if it doesn't, it can choose to dump the extra frame buffer information and save some storage space. What can help that AI make the call on Top Shot in Auto mode is a sub-feature called Frequent Faces, which you can find in the main "Camera settings" menu (accessible by tapping the cog icon, then pressing the three dots). When it's turned on, the camera app will log the faces it captures to inform how it balances color for skin tones and to improve Top Shot selections. Google says this facial data can only be managed by the camera app and is deleted when Frequent Faces is toggled off.
Optimize FPS for low-light video
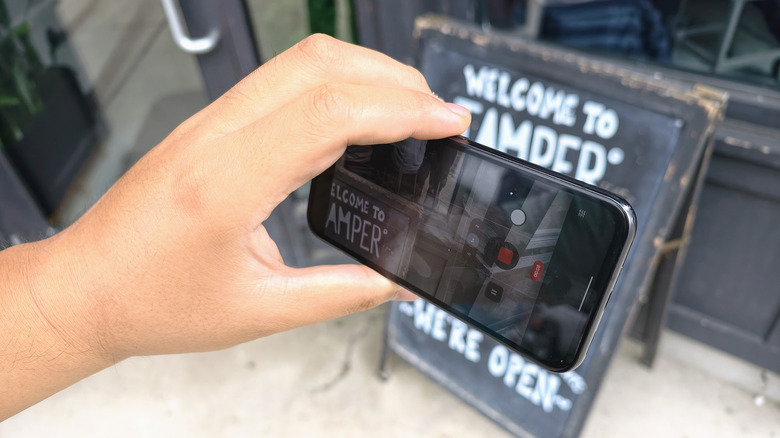
Say you're shooting a video around the house to send to an insurance adjuster or you're at a concert with dramatic lighting sequences. You're likely going to be navigating from bright scenes to dark ones and back again quite rapidly. And these are pretty darn important clips, so you'll want to avoid common camera mistakes that make what you capture look worse.
When it comes to the tools a smartphone has in adjusting for those changes, there are typically only two: ISO and shutter speed. A higher ISO increases the sensor's sensitivity to light at the cost of color accuracy, while longer shutter speeds allow the device to capture more light over time at the cost of clarity, especially with moving objects.
The biggest limitation to shutter speed adjustments, however, has been with the base frame rate. Many smartphones allow you to set a fixed frame rate when shooting videos for a consistent viewing experience. But if, in your situation, you value that extra bit of flexibility to get the best detail in low light and smooth motion in better light, the Optimize FPS setting toward the bottom of the main "Camera settings" menu allows for that. Simply put, the camera app can adjust its frame rate between 30 and 60 frames per second within the same clip when the situation calls for it.
Settle the debate: H.264/AVC versus H.265/HEVC
Sticking with video, we come to another toggle innocuously called Store videos efficiently, which can be found in the main "Camera settings" menu that appears after tapping the cog icon in the Pixel Camera app and then selecting the three dots. It's one of those settings you'll want to switch on or off depending on your needs. When it's off, videos you shoot are compressed with H.264, or the Advanced Video Codec. If you turn it on, your phone will switch over to H.265, or the High Efficiency Video Codec.
Most TVs and other playback devices nowadays support both codecs, though it's not entirely out of the question that you'll find certain hardware or software that won't support H.265, which came out in 2013 — PC up-cyclers with home theater systems know that pain. In short, H.265 achieves lower file sizes than H.264 does for about the same picture quality, but it also takes more energy to write and decode. H.265's benefits shine best when you're shooting 4K or even 8K footage and you don't want to end up laying waste to your storage. That said, if you're running low on battery or in a hot environment, you might want to consider shooting with H.264 instead.
Guided Frame helps people with low vision or blindness
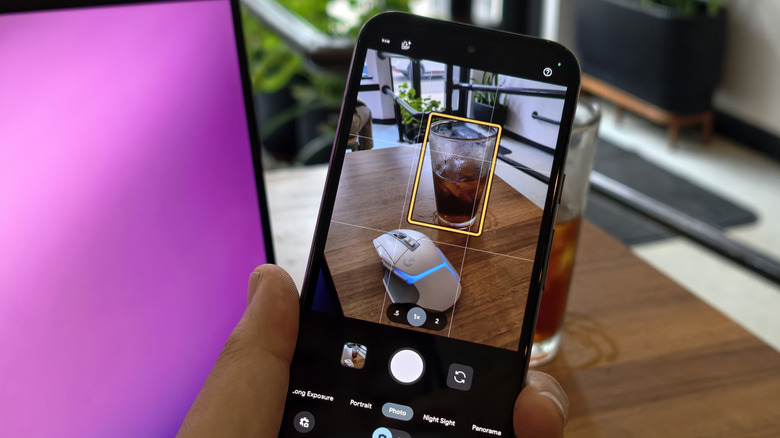
Guided Frame uses the camera app's vision AI to detect when at least part of a potential subject is in the viewfinder. This is another feature that can be found on the main "Camera settings" page, so tap the cog icon in the bottom-left corner of the Pixel Camera app, then hit the three dots to open the relevant menu.
When Guided Frame is enabled, you'll see a white box appear around a face, an animal, food, drink, vehicles, or a document in the viewfinder. From there, the phone will guide you with audio and text messages on how to move the camera to properly frame your subject. Once the subject is fully in frame, the boxes will turn yellow, then the phone will trigger a three-second countdown and ultimately snap a photo. This Android accessibility feature is automatically activated for those using a screen reader and Android's TalkBack function.
Additionally, you'll find a self-explanatory feature called Scene Description in the same menu where Guided Frame is. Most Pixels require an internet connection to access a cloud-based AI Gemini model to run this feature, though Pixel 10 series devices can run Scene Description for a decent handful of languages using its local AI capabilities.
Quick access controls bring Pro features without the full Pro mode
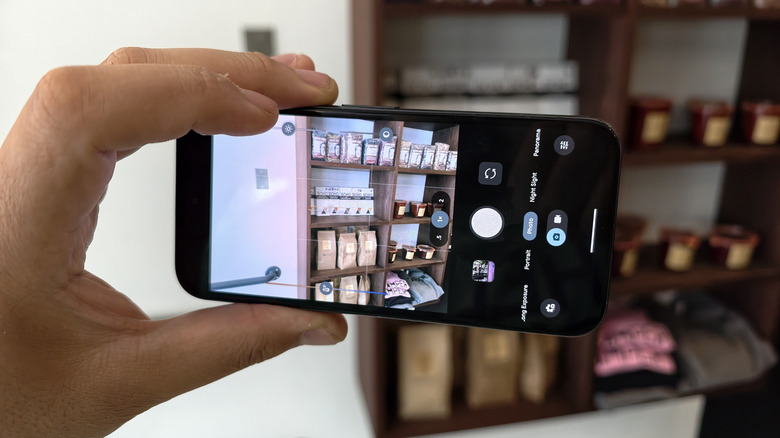
Most people tend to trust the standard auto-mode experience when shooting with their smartphone cameras. Sure, they might tap on a subject to lock in focus, maybe slide up and down if they even think to tinker with brightness levels, but that's about as far as they go before hitting the shutter button. Very few hardcore nerds find themselves in the full Pro viewfinder, hidden in the far-right side of a modal carousel with all the dials and numbers for ISO, color temperature, and shutter speed right in their faces.
Quick access controls on Pixel cameras might prove a happy middle ground for a small, but significant portion of the user base who are picky enough about the details, but not interested in knowing metrics like 5,600 K or 1/120. You can enable these from the main "Camera settings" screen, which can be accessed by tapping the cog icon in the Pixel Camera app, then pressing the three dots. When Quick access controls are active, you can tap the viewfinder to access simple sliders for brightness and contrast on one side and color tone on the other.