

5 Gaming Accessories You Should Clean More Often
For many, gaming is an outlet to escape the harsh realities of the world. Unfortunately, needing to clean your accessories can shatter that illusion. While we're no strangers to gadgets that belong in every gamer's setup, we also know the importance of keeping things tidy. For those noticing their gaming accessories may not be performing optimally or are starting to have a certain funk to them, here are some items that may need cleaning more often than you think.
From the gadgets that help you control a game to even the items you use to communicate, keeping a gaming setup clean can often take a little more than blasting some canned air into the vents of your rig. Even the device you use to actually see the game may need a little TLC. While a variety of factors can determine how often you should clean an accessory, we'll do our best to give you a general timeframe along with some methods to keep things looking fresh. When applicable, we also tell you what items you need, such as isopropyl and a microfiber cloth.
Like determining the best cleaning routine for your television, developing a cleaning schedule for your gaming setup can do some real wonders. Depending on how much each item needed cleaning, you may find certain accessories performing better, but it's also pretty likely one will have a more pleasing experience with a cleaner setup in general. If you're aiming to spruce up your battle station, here are a few key items that can be easy to overlook.
A dirty controller is an unresponsive controller
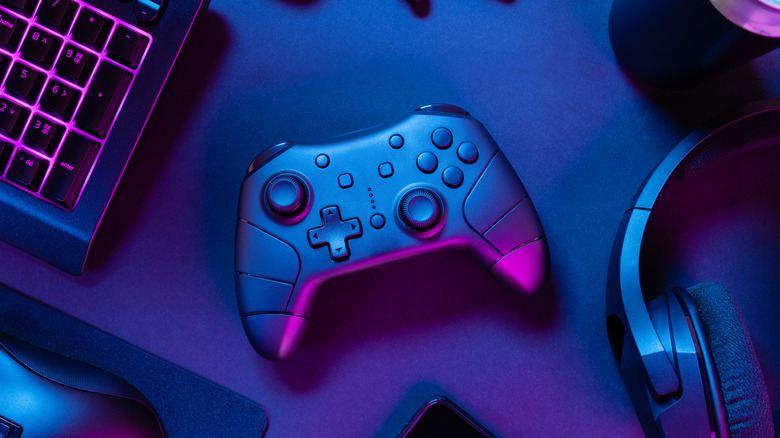
Across gaming consoles and even larger PC rigs, a controller often serves as the lifeline between you and your system. Regular cleaning is one of the ways to make your controller last longer, as consistent use can lead to a buildup of dust, dead skin cells, and other things you don't want to think about while gaming. Fortunately, you only need a few things to get started.
If you're the only one using the controller, consider cleaning it every two to three weeks if you find yourself using it daily. If the accessory is shared among a household or other players, one to two weeks may be best. Remember that environmental factors such as dust can also have an impact on cleanliness. When available, make sure you're keeping the controller in a dry, cool area. It may also be wise to consider a dust cover.
During cleaning, isopropyl alcohol and cotton swabs are going to be your best friends. Get a swab damp (not dripping) with a bit of alcohol, and then ensure you're working it around every nook and cranny of the controller, including the joysticks and buttons. Make sure the device is unplugged and the batteries are removed, if applicable. Compressed air with a soft brush can also work, and a microfiber cloth also does wonders. If you don't have any isopropyl, white vinegar also works, though be sure to cut it with some water. Be mindful of internal components.
Keep your keyboard clean
Much like how a controller can accumulate unwanted materials due to frequent use, this same logic also applies to your keyboard. You should consider cleaning these accessories in direct proportion to how often they see use, and those using them daily should plan for cleaning every two to four weeks. If the item is shared, consider a weekly cleaning. Most of the time, a quick cleaning with small amounts of isopropyl alcohol, cotton swabs, and a microfiber cloth will be fine, but those with a certain type of keyboard may want to do some deeper cleaning.
If you're using a mechanical keyboard, consider a wire keycap puller so that you can remove the keys and clean them individually. A couple drops of dish soap in hot water will be fine, though make sure the keys are dry before reattaching them. This type of deep cleaning may only need to be done every couple of months, but again, it's going to depend on use. For membrane keyboards, consider a soft brush or some alcohol wipes. Do not try to remove the keys of a membrane keyboard.
If you're not sure which type you have, our article on whether membrane or mechanical keyboards are more ergonomic can help explain the differences. Remember to unplug the keyboard before cleaning, especially if you're using liquids. Consider washing your hands before using the accessory, and, like your controller, avoid eating or drinking around it. A good keyboard cover can also help fight against dust and other random particles.
See the difference with a clean monitor
There are several things to consider when buying a new gaming monitor, but keeping it clean may not always be at the top of everyone's list. Regardless of whether it's a touchscreen, this is another accessory where developing a routine pattern of cleaning maintenance can go a long way. In terms of a schedule, the environment the monitor is in can be a big factor. In a clean environment, cleaning every couple of weeks should be fine, but if you notice the monitor quickly getting dirty or smudged, more frequent cleanings may be best.
Before starting, turn off and unplug your monitor to avoid any potential damage or accidental electric shocks. For your screen, avoid harsh chemicals and paper towels. Use a dry microfiber cloth to lightly wipe your screen in a circular pattern at first, but if you find smudges are difficult to remove, try small amounts of water or a mild cleaning solution on the cloth. A 50/50 mixture of distilled water and white vinegar is good for really troublesome smudges. Use distilled water for a touchscreen.
While you should avoid using compressed air on the monitor screen itself, it is good for cleaning vents. Cotton swabs, a soft brush, and a microfiber cloth can also be used on vents or any part of the exterior that's not the screen. Something else that's important to remember is that a display can be sensitive, so always be sure to use a careful hand to avoid damage.
A dirty mouse can ruin your streak
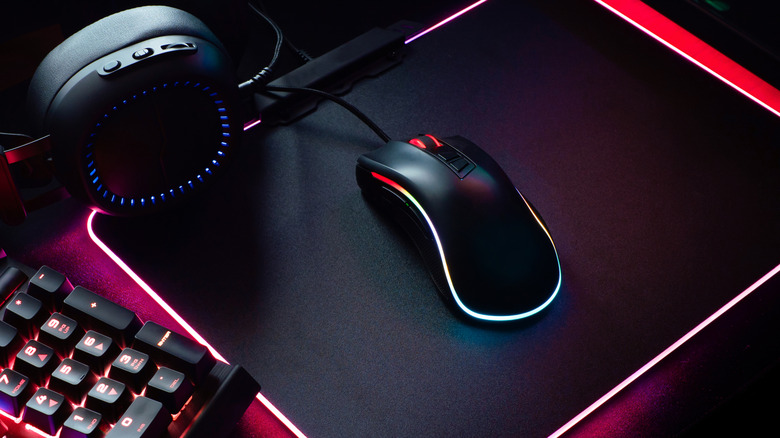
If you game, it's likely you value performance, accuracy, and speed, all of which can be impacted by a dirty mouse. If you find that your mouse isn't as responsive as it used to be, giving it a good cleaning may be enough to get it performing how you like. Like others on this list, how often you use it and what type of mouse it is can all play into the frequency of cleanings, but aiming for once a month can be a good starting point.
How you clean it likely depends on the type of mouse you have, but remember that you need to make sure the device is turned off and not connected to power, even if it's battery powered. Compressed air is going to be good for eliminating dust, whereas a toothpick or spudger tool can help eliminate anything building up in the crevices of the mouse. A lint-free cloth or alcohol wipes also help, especially if you have a scroll wheel. Just remember to go over the mouse with a dry cloth if using something damp.
For trackball mice, remember you can often remove the ball from the device. Clean the area where the ball resides once it's removed. If you feel that you need to disassemble a mouse for any reason, make sure to consult your manual for instructions. Users may have different answers on how long gaming mice last, but keeping things clean can help with maintaining longevity.
A clean headset for happy ears
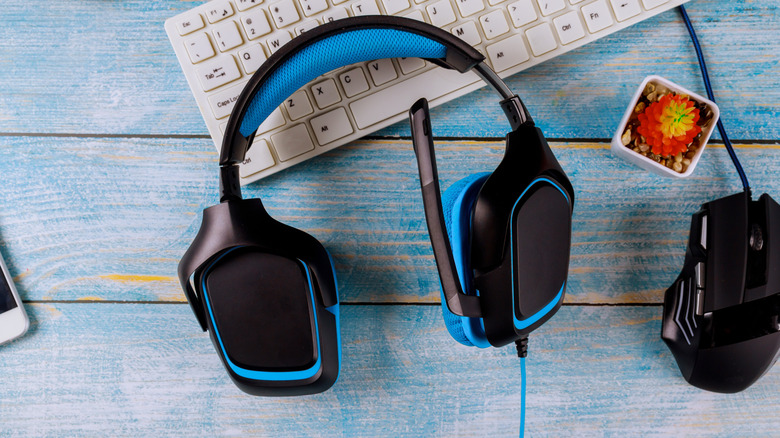
Gaming headsets are among the cheaper ways to upgrade a gaming station, and they can be handy for immersing yourself in the gameplay or communicating more clearly with your teammates. Like everything else on this list, a gaming headset can accumulate oils and sweat from your skin, hair from your head, and even dust or other assorted particles. For this accessory, wiping it down after a heavy gaming session is a good idea, though a deeper cleaning every two to four weeks can also be beneficial.
First, make sure to wipe all the exterior surfaces of the headset with a microfiber cloth and a little bit of isopropyl alcohol. This includes parts like the headband and the earcups, as well. If you can remove the ear pads (check your manual), you can typically clean them with warm water and mild soap. Be sure to let them dry. If you can't remove them, use a damp microfiber cloth. For the microphone, a dry cotton swab can do the trick, though you can also use small amounts of isopropyl for harsher buildup.
A can of compressed air or a cotton swab will also be good for any ports or connectors. Be sure to keep any liquids away from these areas. Let the other components dry before use. If you want to try and avoid cleaning sessions, a headset stand can help dry the headphones after use, and you can also consider washing your hands and face before use.