

11 3D Printer Features Beginners Shouldn't Pay Extra For
We may receive a commission on purchases made from links.
3D printing is growing rapidly as a hobby, partly because the price of entry is now quite low and partly because printers have become much easier to use. Many companies are competing for your money in the budget and midrange segments of the 3D printer market. They're not just competing on price either, but also on features.
Some of these features are genuinely useful, but really only apply to people running high-volume prints, or who have a print farm. Others are gimmicks in any context, and you should either leave them out of your evaluation, or avoid printers sold on gimmicky features altogether.
Even when a feature is genuinely worth it, it also matters whether you're going to stick with this hobby or are just feeling it out. Even a cheap 3D printer is still a decent financial investment, and every dollar you spend on the printer itself is money that could go to filament, the tools you'll need, or hidden 3D printing costs you weren't expecting. We've rounded up some of the features we think the typical 3D-printing beginner just doesn't need. Unless they affect the printer's asking price, you can safely ignore these without hurting your initial experience with this amazing technology.
A giant build volume
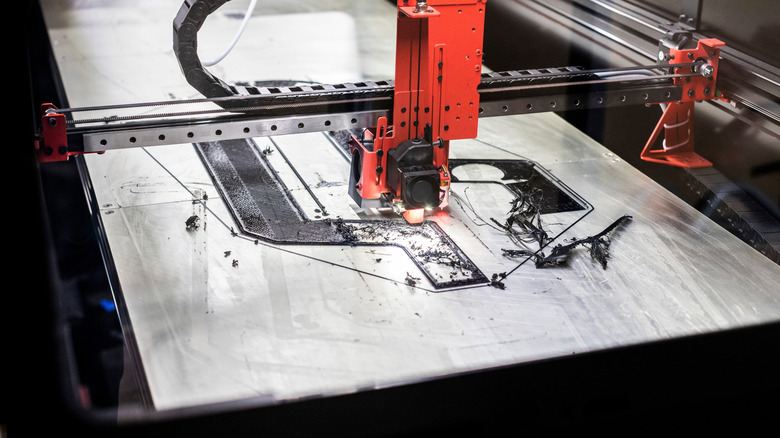
One of the very first specifications you'll run into when deciding on your first 3D printer is its build volume. That's the total size of the interior space that a model can take up. That's the length and width of the build plate, multiplied by the vertical space the build plate can move using the lead screws.
Unless you're making very tall prints, the vertical space you have isn't as important, and most people likely care most about the footprint of the build plate. A larger build plate is useful for printing more copies of the same model or for printing several parts at the same time, but how much volume you need depends on the size of the things you intend to print. For example, if you're a cosplayer and you want to print cosplay helmets all in one go, then you need a printer that has a build volume large enough to do that. The Creality K1 Max (which I own) is perfect for this with its 300 x 300 x 300 mm build volume.
However, unless you know you need to print objects that large, something like the Bambu Lab A1 Mini costs a fraction of the price and has all the modern features you'd expect when it comes to ease of use. It's a small 3D printer that's perfect for your home or office, and with a 180 x 180 x 180 mm build volume, you can make most things and always glue larger models together.
An extreme advertised top speed
3D printing is not a fast process, but it has become so much faster over the years that prints that once took days to complete can now be done overnight. Part of this is thanks to filament improvements, but most of it comes down to more advanced printers and software.
The arrival of CoreXY printers has changed the expectations around desktop 3D printer speeds. These printers use a dual-motor belt drive system to move the print head along the X and Y axes of the build volume. My Creality K1 Max has a rated maximum linear speed of 600mm/s which is very rapid indeed. When I upgraded from an old Cartesian-style printer to CoreXY printers, I enjoyed at least a halving of typical print time.
However, whatever printer style you buy as a beginner, be wary of printers that market themselves heavily on speed. In the end, speed only matters to very specific customers. As a beginner, learning 3D printing and dipping your toes in the hobby, does it matter if a print takes 10 hours instead of five? If you're on the clock because you're printing things as part of a business or your job, then you're not really a beginner hobbyist, right? Besides, those advertised speeds are under ideal circumstances and require that several things fall into place. Once you've seen your printer spit out a 10-minute Benchy Boat using special high-speed filament, you'll be impressed and then never think about it again.
A high-flow hotend
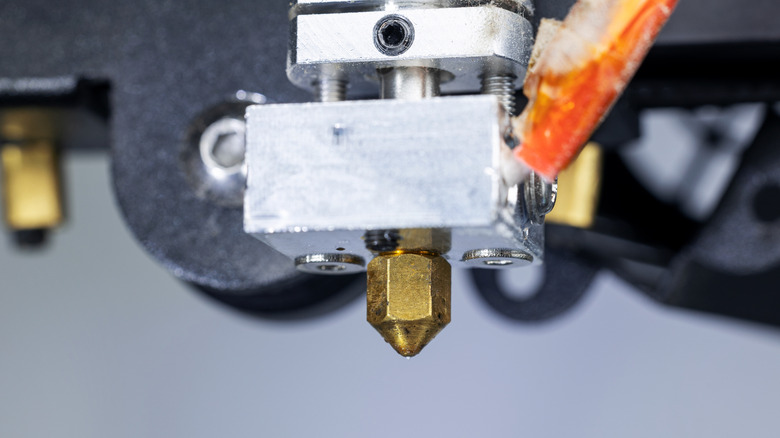
If the name wasn't self-explanatory, the "hotend" of your printer is the bit that melts filament and then pushes it out of the nozzle. The hotend and nozzles you use have a direct effect on the prints you make, how long they take, and the quality of the final result. For example, if you switch from the common 0.4mm nozzle to a 0.2mm, you'll have a slower machine, but one that can create finer detail in its models.
We've already covered how fast the print head can move, but that's only one part of the final average speed at which a print finishes. Another key factor is "flow rate." As the name suggests, this is the rate of filament flow through the hotend. To increase the flow rate, designers must change the internals of their hotend design to allow higher melt capacity, so there's enough liquid filament available to meet the target flow rate.
As a beginner, you don't have to worry about this unless your goal is to print large objects where you want a large, sustained flow of filament to print as quickly as possible. A printer advertised with a high flow rate as a key feature is probably aimed at this more niche type of printing anyway, so it's not really suitable for beginners. The flow rate of a standard desktop 3D printer will be perfectly adequate for you.
An automatic multicolor system
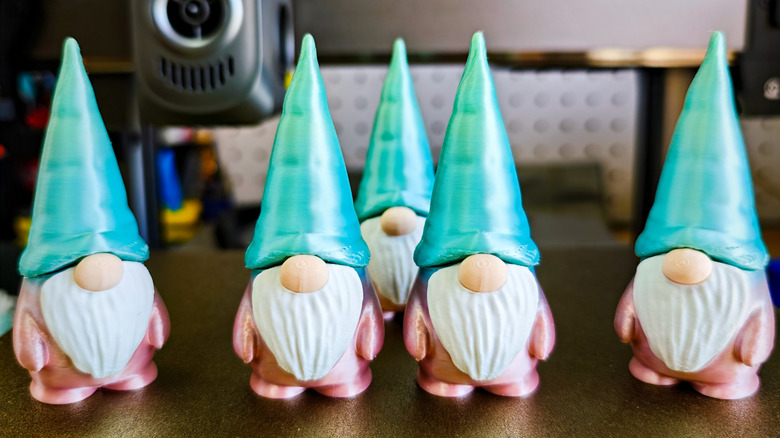
The first 3D printers that regular people could use at home used a single filament at a time, and that's still largely true today. Multicolor filaments that change color along their length were one way to get multiple colors in a single print, and hobbyists quickly learned tricks like pausing a print at a set time and then swapping to a different filament.
Today, you don't have to do that if you want to have multiple colors in a 3D print. All you need is an AMS or "Automatic Material System." The exact design of these differs by manufacturer, but they all automate the changing of filaments. This means you can "paint" your 3D models in your slicer with as many colors as the AMS can handle, and have intricate colored models straight out of the printer without doing any literal painting.
AMS systems are affordable now; for example, you can get the Elegoo Centauri 2 Carbon Combo for $399, which is a printer I use myself and can recommend to anyone. However, price isn't the issue here. There are things you need to know before buying a color printer that should give a beginner pause. They cost more to run, break down more often, are more complex to repair and maintain, and most current models waste a lot of filament. If you really want a multicolor printer, no one can stop you, but if you don't need multimaterial features, save your money.
A tool-changing system
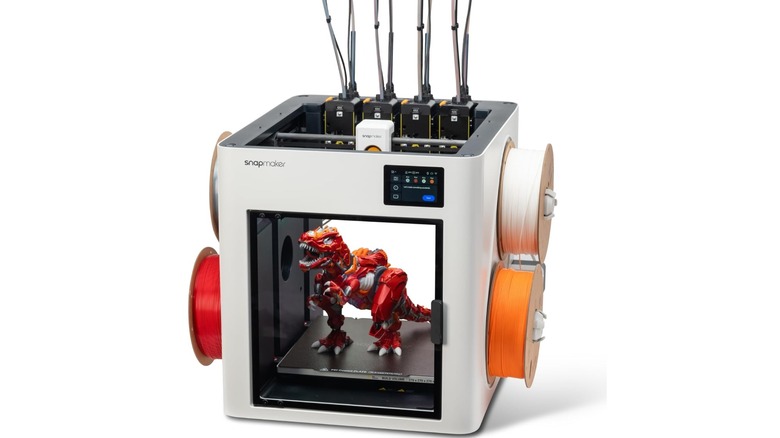
Remember when we said multicolor printers have lots of waste filament? That's because every time they change to a different filament, the filament currently in the toolhead has to be purged so that it doesn't mix with the new color or material. Tool-changing printers like the Snapmaker U1 get around this issue by having a toolhead dedicated to one filament. So instead of switching filaments, this type of printer swaps the entire toolhead on the fly.
This works brilliantly to speed up multicolor prints, and it all but eliminates waste. If money were no object, I'd say buying a system like this would be a good idea for anyone. So, if you are a beginner who also happens to have lots of money to burn, then be our guest. However, for the rest of us, the advantages of a tool-changing printer don't outweigh the high cost of entry. It would be best to wait for this cool new 3D printing gadget to get cheaper. Besides, it's early days for tool-changers, and everyone has their own approach to designing them. They are mechanically complex, and I'd hate to imagine the repair and maintenance complexities if you're going the DIY route.
The same thing was true of the AMS systems that are now cheap enough to include with budget printer systems. Tool-changing is, currently, a product for enthusiasts who are beta-testing this technology for the rest of us. Beginners should avoid it for now.
A full enclosure for ordinary PLA printing
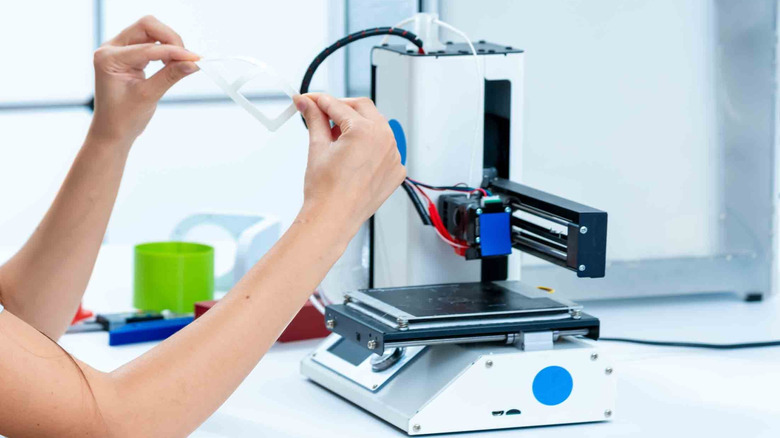
3D printers come in both open and enclosed variants. The Creality Centauri printers we mentioned earlier have a base model version that comes without the side panels and lid that form an enclosure, although even then the rigid frame that CoreXY printers rely on remains.
An enclosure isolates the build volume from the environment around the printer. This prevents cold air from causing the filament to curl or warp. However, the most common filament in use is PLA, and it doesn't need an enclosure. In fact, printing with PLA in an enclosure can cause issues like printer jams if the temperature gets too high. If I'm printing with PLA in the summer, my printers will sometimes ask me to open the enclosure door and take off the lid, because the chamber temperature is getting too high for PLA.
If you are going to print in ABS (the same plastic they make LEGO from), then you need an enclosure. However, ABS is trickier to work with for beginners, and there's no reason to use it over PLA unless you're going to print something that specifically needs the properties of ABS. Consider the disadvantages of buying an open-frame 3D printer, but your early forays into 3D printing likely won't go beyond PLA. Some printers can be upgraded with an enclosure later, so focus on that option if you need it.
High-temperature hot-ends
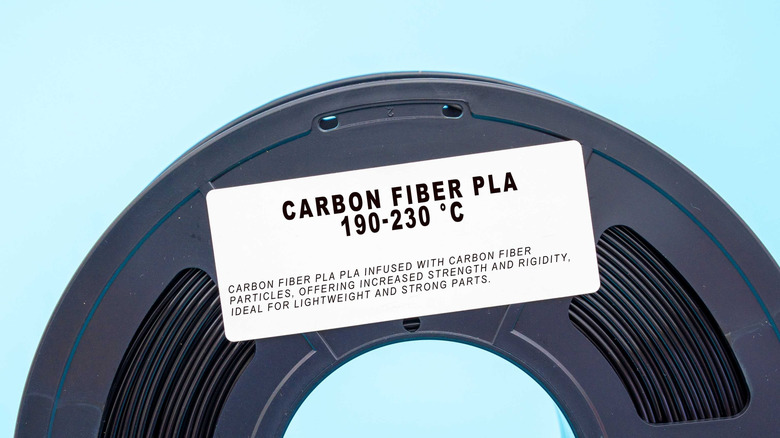
You'll often see printers marketed with a 300–350°C hotend, and it's natural to think that a bigger number means a better printer. The thing is, PLA, ABS, and other common filaments don't need anywhere near that much heat. PLA prints at between 190-220°C, ABS needs between 210-250°C, and PETG prints at 220-250°C.
While these high-temperature printers are marketed as "carbon-ready," the truth is that plenty of carbon fiber filaments on the market will print just fine at 250°C or less. It all depends on the base material, since you're printing a filament that's infused with carbon fiber, not pure carbon fiber itself. PLA and PETG infused with carbon are mostly fine at 250°C as the maximum temperature. However, always refer to the nozzle temperature recommended by the filament maker.
You'll need higher temperatures for nylon or polycarbonate filament infused with carbon fiber. However, these are not beginner filaments. They're used to create advanced load-bearing components. So if you're printing experimental drone airframes, that's what you're going to use. There are many unique 3D printer filaments out there, but the vast majority don't need a high nozzle temperature. If the printer you want happens to be rated for these high temperatures, that's fine, but don't buy a printer based on this feature. After all, you're unlikely to ever use filament that needs it.
A hardened nozzle
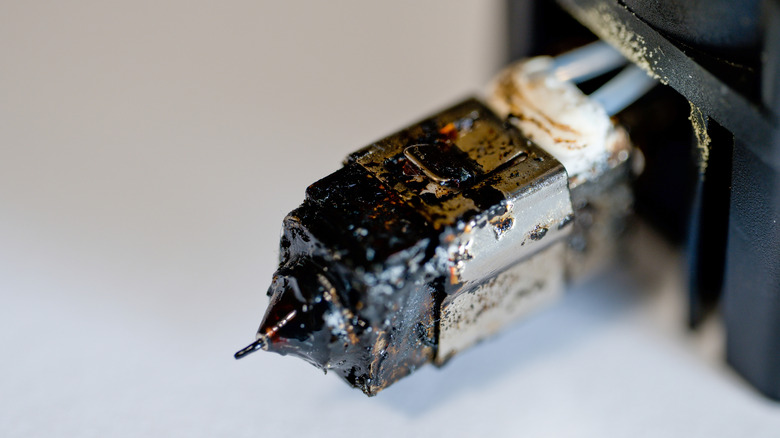
Most printers come with a standard brass nozzle, which offers a good balance of performance, durability, and cost. However, nozzles wear down through use. As the filament is pushed and pulled through the nozzle, it slowly erodes the metal. Eventually, the nozzle can no longer extrude the filament within specification and has to be replaced.
That is why you can buy a hardened steel nozzle. This material resists abrasion, so if you print with filaments that contain carbon fiber, glass, Kevlar, and so on, such a nozzle is recommended, or you'll wear it out much faster. I learned this the hard way with glow-in-the-dark filament destroying my OEM brass nozzle within the span of just one roll of filament!
This might make a steel nozzle sound like a no-brainer, but if you aren't going to print with these expensive, more exotic filaments, you're better off with brass. Brass is more conductive and less heat-resistant. So it heats up and cools down more quickly. It's also smoother internally than steel for better flow, which should give you better results with standard PLA or ABS. Plus, you can always buy a hardened steel nozzle later when you are more experienced. They aren't that expensive, and changing nozzles is quick and easy. It's also a basic skill to learn; save the advanced nozzles for when you're ready to advance in the hobby.
AI failure detection
Every 3D printer enthusiast has experienced the dread of waking up to check on an overnight print and finding the entire print volume filled with "spaghetti" as something went wrong with the print, but the machine just kept going. It's not the end of the world. At worst you've wasted a little time and filament, and you've learned a lesson about why some prints fail.
Some modern printers have AI-based features that use the video feed from an internal camera to detect when a print has failed, stop the machine, and send you an alert. This is useful for mission-critical printing projects where you need to reset things as soon as possible, but for a casual hobbyist a failed print isn't worth spending extra money for to maybe prevent. If this AI-based detection method was close to 100% reliable, it might be a different story, and the technology is improving. However, in my experience these solutions tend towards false positives. In the end I always end up turning AI failure detection off, because it hurts more than it helps.
Having a printer with an internal camera that you can access remotely is however a feature worth having. It's great to whip out your phone and check on the progress of a print while you're at work, for example. You can then stop the print yourself if you see things have gone wrong. An AI feature isn't a reason to avoid a printer, but neither is it a reason to buy one printer over another.
LiDAR
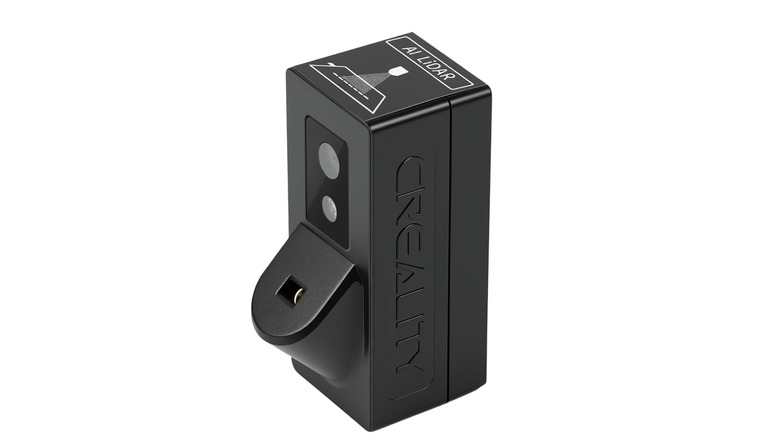
An internal camera isn't the only way a 3D printer can keep an eye on its print. Some printers offer a LiDAR scanner on the tool head that can inspect the first layer for any problems and then halt the print if it doesn't look right. LiDAR can also be used for precise bed-leveling and to automatically tune flow rates.
All of this is true and can work as advertised, but in practice, you don't actually need it. It also represents a high cost. The LiDAR upgrade kit for my Creality K1 Max costs $75 as of this writing. That's a huge chunk of the budget if we're talking about sub-$500 3D printers that beginners are most likely to consider as their first machines. My K1 Max came with the LiDAR attachment from the factory, and it's another feature I turned off eventually. Manual flow-rate calibration isn't hard, and you don't have to do it every day. It's also a skill beginners should learn, which is why too much automation can be a bad thing until you've learned how to do critical jobs without help.
As for bed-leveling, modern 3D printers can auto-level their beds just fine without LiDAR. Some users have removed the LiDAR module from the print head because the saved weight is worth more than the functionality they never use. In short, if you have a LiDAR option, just say "no."
Laser engraving and CNC attachments
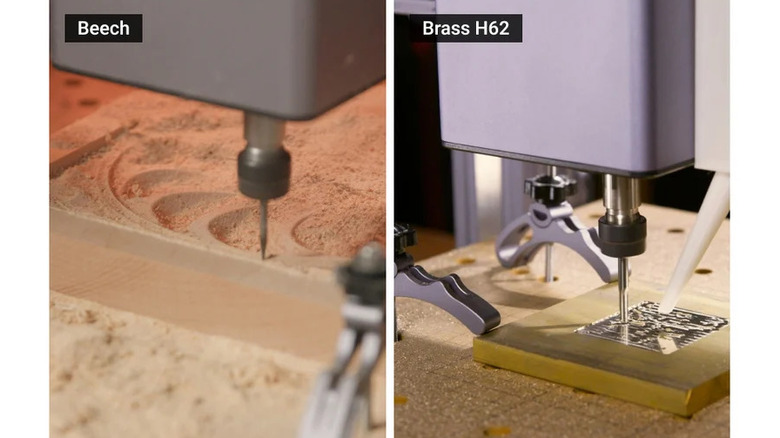
A 3D printer is essentially a robot with a plastic extruder as its end-effector. In principle, it's very similar to other systems like CNC milling machines and laser engravers. In fact, 3D printers use the same G-Code language as CNC machines. This is why companies like Snapmaker offer products like the Artisan 3-in-1 3D printer. These machines let hobbyist makers do all three main manufacturing processes in one box, on a table in their home or garage.
The price might seem high until you add up what a separate engraver or milling machine would cost, at which point it seems like a bargain. However, if you thought running and maintaining an AMS or tool-changer was complicated, wait until you have to deal with milling dust or laser engraving fumes!
There's also the maturity issue. Few of these multi-function machines are on the market, so it's unclear whether they're worth a long-term investment. You might feel you should hedge your bets because you may need these additional features at some point, but since these complex multi-function systems are largely unproven, it might be better to wait. Besides, the more features a machine has, the more likely it is to be mediocre at them, whereas a dedicated printer, CNC, or engraving system might do just one thing, but do it exceedingly well.